This is a continuation of the report of the Eastfarthing Knockout, part 1 is here:
https://eastangliasbg.blogspot.com/2023/08/tournament-report-eastfarthing-knockout.html
Game 3- Destroy the Supplies (Vs. Tom (Fiefdoms))
Opponent's Heroes: Prince Imrahil, Forlong the Fat and Duinhir
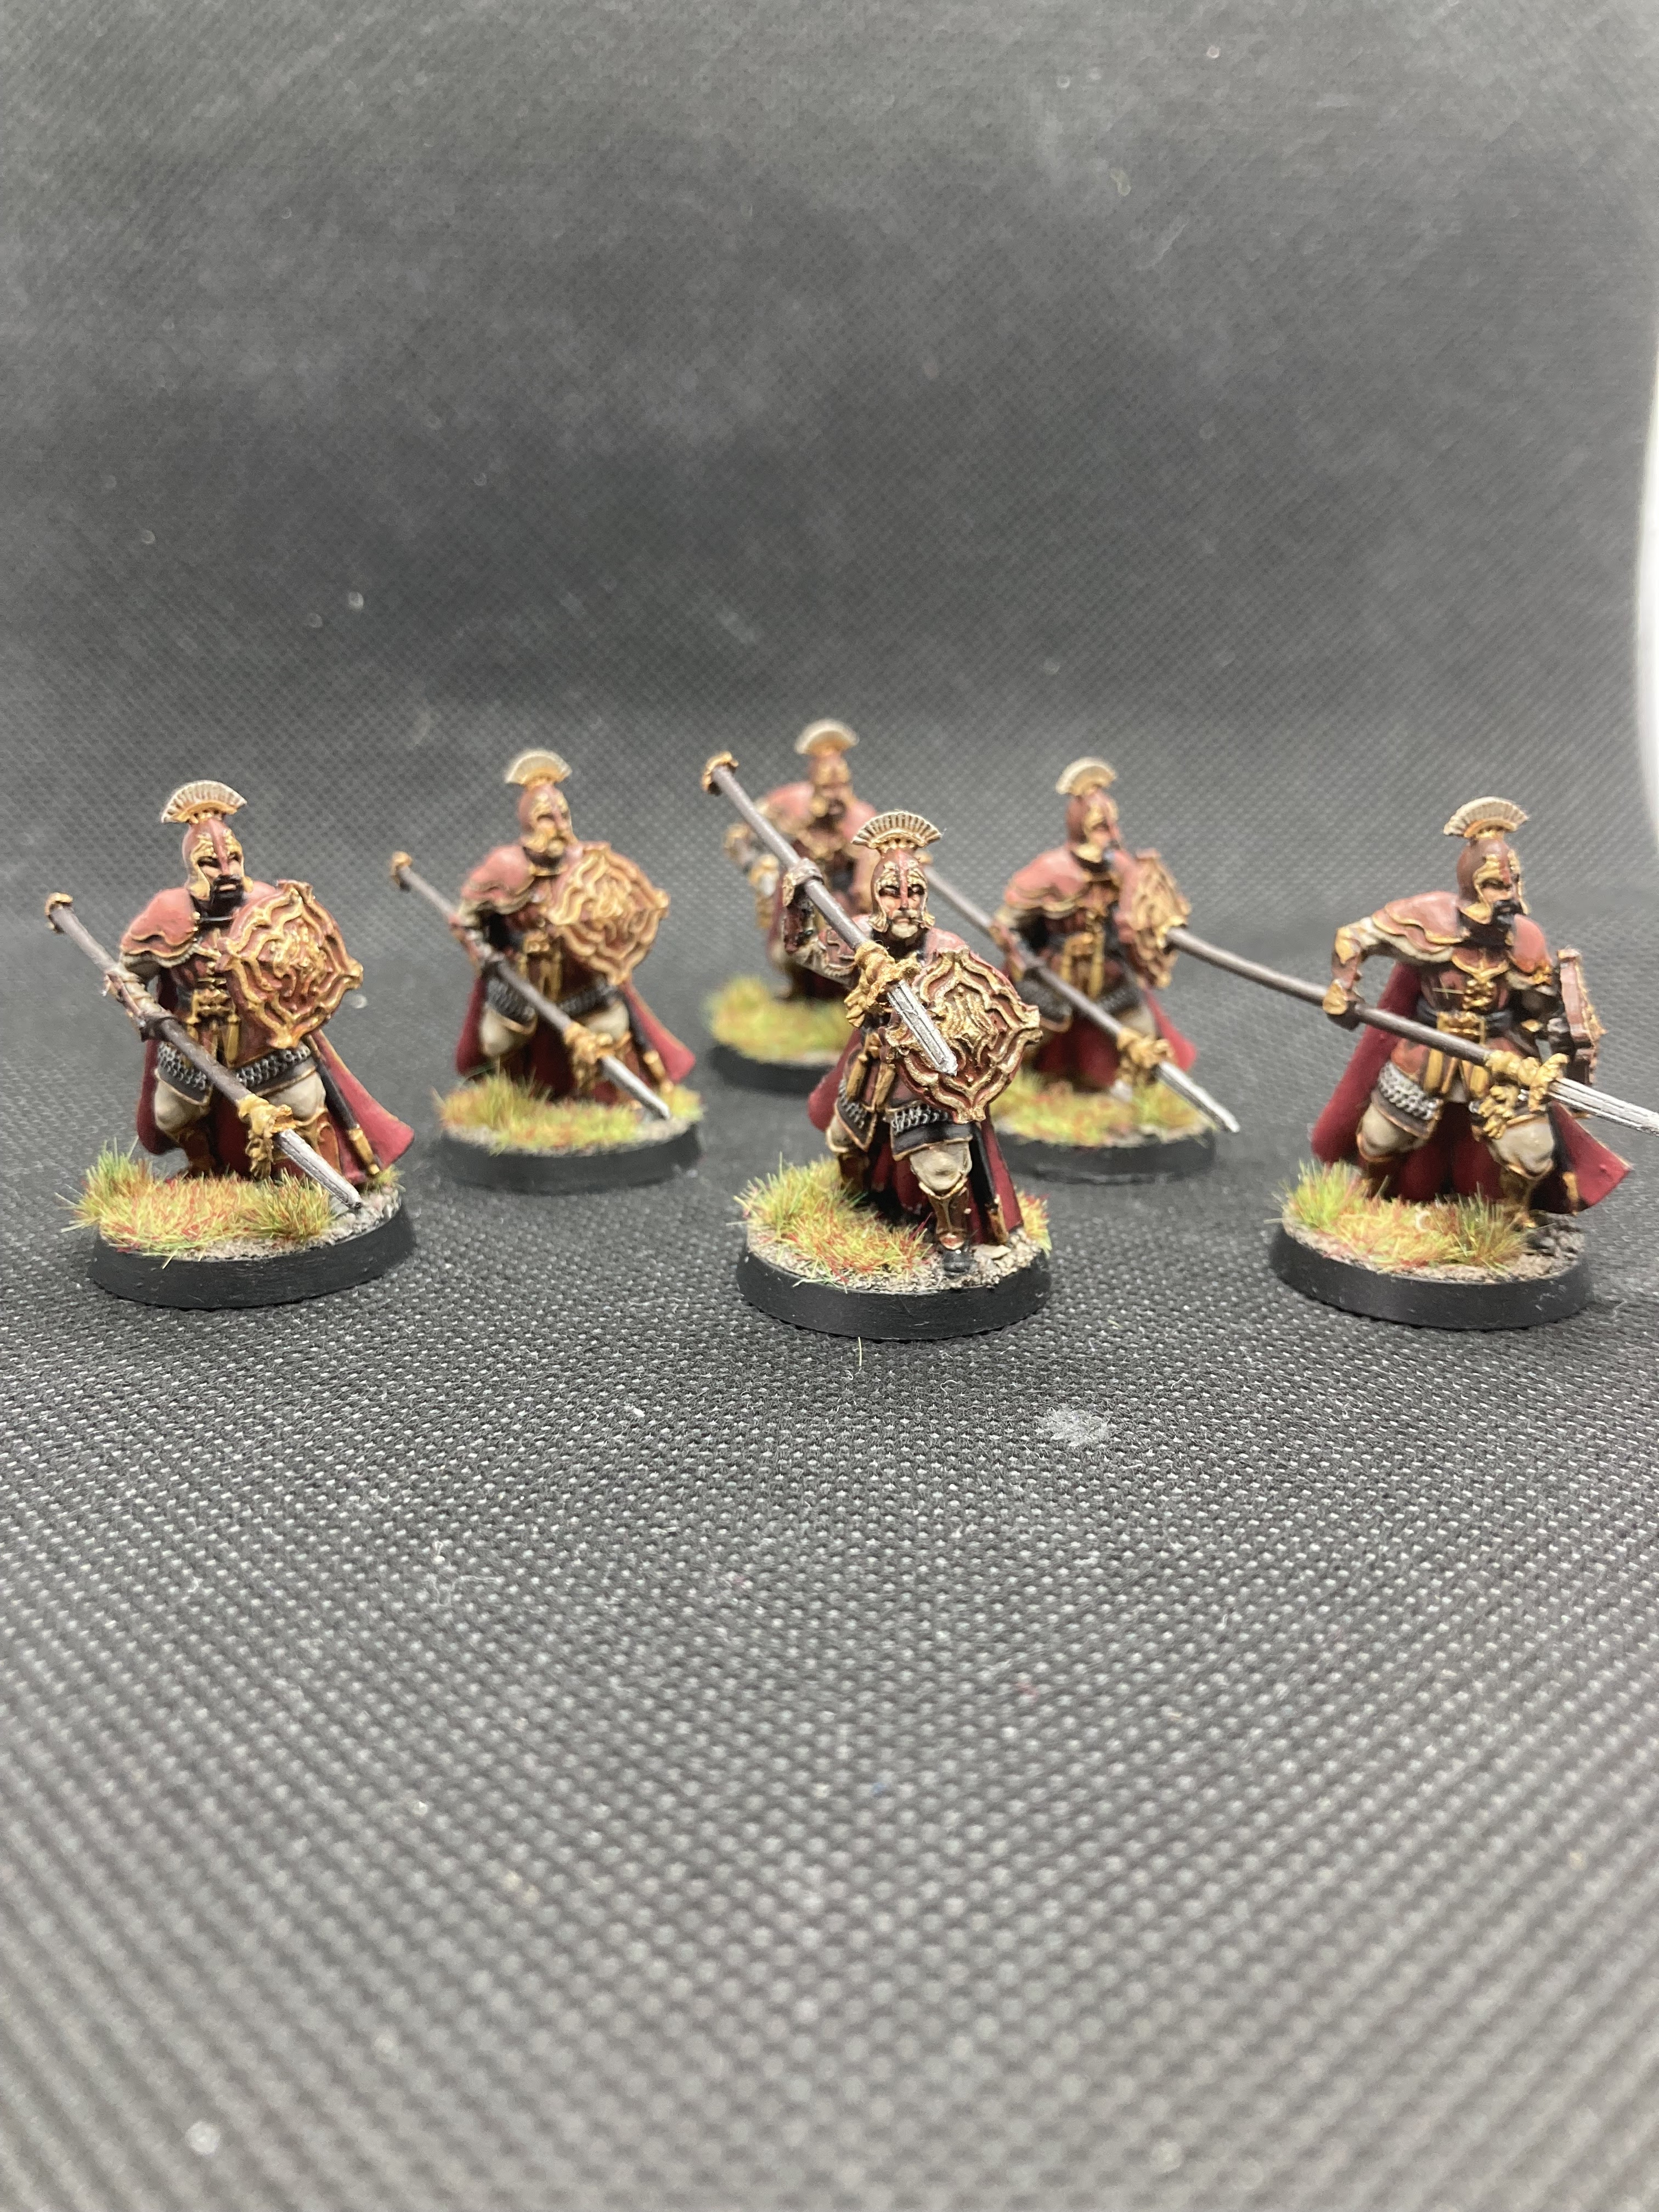
Opponent's warriors: Knights of Dol Amroth, Clansmen of Lamedon, Axemen of Lossanarch and Blackroot Vale Archers
Our veto pool for this one was; Lords of Battle, Destroy the Supplies, and Capture and Control. I knew immediately that against a strong elite army such as this, I did not want a wounding contest, so I'd be vetoing that, unless for some bizarre reason he did that for me.
Obviously, he didn't, he decided first that he didn't want Capture and Control, this meant that we would be attempting to destroy each others supplies.
I deployed first with my whole army centred around the Captain ready to march. Tom deployed Forlong and Duinhir in the centre and Imrahil with his knights to my right.

I called my Heroic March and moved sharply forwards to the right, towards Prince Imrahil. In the third turn, Tom was within charge range to the right of the building that I was skirting around and had priority. I called a second March, figuring that this would either bait him into attacking. Hoping that he would forget that I could still charge as long as I do so before the March, or I could just keep pace with him. He didn't fall for the former and rushed towards the centre. I moved up the Drake and a unit of goblins, to push on his objectives and anchor his infantry from assisting the cavalry. While the Captain marched with the rest towards the central corridor.
Two turns later, Tom got priority and attempted a gamble, charging my frontline. I managed to do some shifting around and get Durburz into a combat with a Knight, alongside some bats, trapping him. I had to put my second batswarm into combat with Forlong, who had joined the horsemen, to shut down his control zone for my next step. I also threw two dice with my Shaman at transfixing Imrahil and successfully did so.
Durburz called a Heroic Combat and killed the Knight before he and the bats pounced on Imrahil and slew his horse. Down the line, several goblins were lost but a couple of knights were killed in return.
The following turn, Tom got the move off and Forlong led a knight into one of my bats, Imrahil engaged Durburz and a goblin, while the other knights piled into my horde again. In the combat phase, Forlong called a combat and Durburz a Strike, Groblog did the same to overcome a knight before him. Forlong and his companion destroyed my batswarm and both charged Durburz. Fortunately for me, I had sounded the drum, which combined with the Strike, was enough for Durburz to fend off the attack and kill Forlong’s horse. The other batswarm managed to kill a knight’s horse, while my captain slew a second knight, as did Groblog. The other gained another couple of kills, but I was thinning them out.
On the other side of the house, 3 knights had moved into the gap between it and a tree the turn prior, presumably to attempt to flank my goblins if they engage the clansmen and axemen near their objective. Since I had moved second, I instead pulled heavily towards them, realising that I could reach them without their infantry being able to assist quickly. In the same turn as Forlong’s Heroic Combat, I called a Heroic move with the Drake’s might and barrelled her into two knights. The other was engaged by a prowler and spear. While the latter pair failed to defeat their opponent, the Drake did what she does and killed both.

In the next turn, her infantry rushed into the clansmen and axemen, to slow them down as I saw that they could potentially get down the board and threaten an objective. The Drake meanwhile, wheeled around two Blackroot Vale archers and in range of her nest. In the combat phase, she barged them both and charged the incoming infantry (a mix of Clansmen, axemen and archers). She ended up killing 3. Many of her goblins fell but stopped the infantry from moving far.
In the other big fight, I used priority to pin Imrahil as Durburz and his goblins joined a batswarm in combat with Forlong, who took 2 wounds in the melee. Another knight was felled by my Captain, who had now freed his unit to help against the dismounted knights and Imrahil.
The turn after, I lost the move off but luckily had pinned both heroes with a ring of goblins. I managed to kill Forlong with Durburz. However, Imrahil had got ahold of Groblog and landed a wound. Another knight fell leaving just 1/2 dismounted/mounted ones left.
Up at the top, the Drake had charged again and this time killed a massive 5 men! This was huge, as we had checked break points at the start of the turn and while I had been 6 away from breaking, Tom had been 13 off, suddenly that wave of death had massively closed the gap! The infantry fight off to the side cost me a few goblins however, and by the end of the turn, we were both ~3 off breaking each!
I lost this priority and Imrahil charged Durburz, a knight charged Groblog (who was out of might now) and the other knight pinned some goblins. The Drake was charged by several men up top and the infantry fight to the right was swinging heavily in Tom’s favour. We both knew he’d then begin moving down to my supplies, so I needed to finish the fight against the knights in the middle to free up some defensive troops. However, there was a mounted knight in the centre, still fighting prowlers. And he was being joined by some clansmen, axemen and archers.
My Drake lost a fight, but I was lucky as the men didn’t land a single wound with their 6~ blows. In the infantry fight to the right, I lost more goblins but managed to kill a man. Down at the bottom, Durburz and his goblins had Imrahil trapped with the Bats, but failed to land a single wound! The other goblins did however manage to kill the two knights with him and so we both broke.
Up at the top, I desperately tried to get the Drake to kill the high courage men, hoping that the archers would either flee or fail to charge her. I also intended to try and kill Imrahil quickly, so that I could fly a batswarm to my left hand objective and destroy that too, in case Tom got mine. As his now free infantry were rushing towards my right hand one. I pulled a small group of goblins down towards it and sent a few others to the centre to stop assistance coming for Imrahil. This was all complicated by Groblog fleeing for his life.
In the last three turns, I’ll split this into the three parts that mattered. First, my Drake was sitting on her objective, but each time she had at least two men make it into combat with her. She was safe from running because of her nest beside her. However, she never managed to destroy it, nor did the bats ever get to come and destroy the other as you’ll hear below.
On my right hand objective, I got the vital priority that meant I could jump on top of it and stop the Fiefs from blockading me to destroy it. My captain fled, who had been moving down to help with that fight. But luckily, the goblins held firm and saved it, thanks to the stand fast of Durburz.
Finally, over the last three turns, Durburz passed all his courage tests, allowing the Drum to come under his stand fast and sound their drum, giving the courage bonus to far off goblins, also the negative effect to the Fiefs and give me important rerolls to win fights.
In the last turn, Tom won priority and I worried as my Shaman had also fled the turn before, meaning that if he charged Durburz, I would have to hope a drummer passes their courage test to sound the drum and give me a fighting chance at not fleeing so that I could trap Imrahil and attempt to kill him. Tom charged him into two goblins, I’m assuming that he hoped Durburz would fail his courage and flee, giving the VPs for free and bringing Imrahil closer to my central objective.

Luckily for me, Durburz passed and surrounded Imrahil, who was on 1w, 0f after taking many trapped beatings. I brought in the batswarm and it would all come down to me not fluffing my last combat to win. I didn’t, and Durburz managed to land the killing blow.
It had been the toughest and closest game of the knockout for me. We had not destroyed any supplies, despite the bitter struggle to do so, we had broken each other but I had killed his leader, giving a very squeaky 3-1 victory, edging me into the final! Phew!
Game 4- Domination (Vs. Jason (The Beornings LL))
Opponent's Heroes- Beorn and Grimbeorn
Opponent's warriors- Beornings
In the final round, I was up against bears! The scenarios in play were Command the Battlefield, Seize the Prize and Domination. I rolled lowest and opted to pack in Seize the Prize, as I didn't like how luck based the outcome could be. I could end up getting it with my bats and escaping, but if a bear takes it, I'd have a very hard time retrieving it. Jason then decided to play Domination. I asked him why not Command the Battlefield afterwards, and he told me it was just the scenario he had opened the book to.
After deployment, I had a wall of goblins with a Cave Drake to one side, Durburz was to the far right across from Grimbeorn and the rest were before Beorn. I called a Heroic March with my Captain, intending to move up and try to pressure Grimbeorn early, ideally also keeping the fight in his board half so that I can hold objectives. Beorn moved towards the trees between us and Grimbeorn held firm, intending to allow his archers to fire. Both had gone into bear form. The captain led a push to the right to get pressure on Grimbeorn.
I had seen an opportunity, that was risky, but had a potentially huge pay off. I attempted to charge Grimbeorn with my batswarm, and passed the courage test. I then charged a Beorning with my Cave Drake. Seeing the danger, Jason called a Heroic Combat with Grimbeorn, as did I with the Drake. She went first and killed the Beorning archer, before swinging around them all and charging Grimbeorn from behind!
I now had Grimbeorn sandwiched between the two and the fight value superiority. I confidently rolled my dice and was horrified when I saw a 5 high! Grimbeorn naturally rolled a 6. This was gutting, I could have dealt an early blow to a bear, outside chance of even killing him. But never mind after all, the most he can do is give me 3 wounds...right?
Jason elected to bearhug (I forget the official name), and to my horror then rolled 4 wounds on the trot, before stopping on a 2. Then he mighted it, and I fated the wound away. He caused a 5th wound and then rolled another 2, before committing his last might and slaying the Cave Drake in turn 1!
That was a massive backfire, but I went for the optimistic approach and focused on the fact that it left him with one bear on no might. In the next move, Beorn called a Heroic Move and after some thought, I allowed it as I couldn't see any meaningful way of stopping him, without exposing my troops to big danger.
Beorn led a bloothirsty charge into my frontline with many Beornings in tow. I did my best to swing fights into my favour in the centre and on the left, the Shaman threw up a Fury to help with engaging bears. Then on the right, Durburz ordered the goblins forward. In a brutal turn of fighting, I lost around 10 goblins, killing a Beorning in return and wounding another two (one survived as my Captain failed to finish them off while they were trapped after the bats wounded and blew a Heroic Combat. I also lost the bats that had attempted to assassinate Grimbeorn as three Beornings trapped and chopped them up. However, one useful moment was when 5 goblins had Beorn beat and he spent his second might point to win the fight, before killing 3.

What followed was a meatgrinder of vicious combats for several turns. In the first, I managed to win a lot of fights but only wounded, if anything, while a few more goblins fell. Durburz got stuck in and narrowly avoided an axe to the head and a small group of goblins flanked around the left. The turn after, Beorn used his final might to try and barrel into the front and break through. But, I managed to kill 3 Beornings. However, I lost my Captain to an angry wounded woodsman. Two Blackshields, seeing that I was close to breaking (I got the wrong idea and thought this was a 50%, 1/2 ending scenario, rather than 25% as it was) and they rushed towards the top left objective. Durburz, grabbed Groblog and several goblins and they surrounded Grimbeorn. I had a really stupid moment here, and forgot to call the Heroic Strike...Grimbeorn won the fight and Durburz was very lucky to be alive on 1w, 0f.

The following turn, I went for it again. And there will be people here who will want to kill me, but I forgot to call the Strike...again! Jason was a good sport though and allowed me to call it as it had clearly been my intention. Durburz got them up to F10 and they won. Grimbeorn was trapped and the prowlers went up first with their 2h piercing strikes, wounding on 4s! They scored 3 wounds, that went through the 'bear saves' and 1 went through all 3 fate too. The goblins failed to wound, so Durburz went up and spent his last might to cause 1. Finally, Groblog went up and spent 2 might to confirm the kill, in case bear saves stopped it dead in its tracks!
This was a big kill, but things had gone direly elsewhere as I lost almost every other fight. On the top right objective, a Beorning had approached the Blackshields so I charged him. He not only won against them, but killed both and seized it! On the central objective meanwhile, my 6 goblins was reduced to 1 in seconds as 3 Beornings ripped them apart!
In what would become the final turn, I got priority and decided to go for broke (I was still under the impression that the game ended on a 1/2), I passed the courage tests on BOTH drummers and they pulled back to my rear left objective. Groblog got his stand fast from the Fury of the Shaman and allowed the goblin left on the centre to charge the wounded Beorning. Groblog had engaged another and Durburz threw himself at a third. The Beorning still somehow alive (having taken 8 strikes the previous turn) beside the top right objective was surrounded again. The surviving batswarm flew back to my rear right objective and made it in by a fraction of an inch.
Jason took the other two Beornings on the centre and rushed them towards my rear objectives.
In the combats, I once again beat the surrounded Beorning, but only did a single wound. Beorn fluffed his attempt to kill the lone goblin he fought, Groblog one shotted a Beorning and th goblin fighting the wounded Beorning, won the combat and then killed him, claiming the centre! By the end of the turn, as I prepared to roll for the game's end, we realised it was a 25% scenario. I was down to 14 goblins and the game had ended.
(Objectives below marked red) I held my two rear objectives and the centre, Jason held the top left one and I held the top right that was contested by the Beorning. Jason had wounded Durburz and broken me, while I was one off breaking him back! The game had ended in a very close 7-4 win to me. Credit to Jason for being very sporting in his approach to it!
With that, I had managed to win the knockout! But with 4 tough games and a generous helping of luck in the right places! Thanks goes to Richard and Tom for hosting this, it was a lot of fun and great to have each round to look forward to!
I have one more outing planned for Moria for the year, which will be at Lord of the Imps in October, where I'll be trying one more new angle that I haven't yet had a go with...