A couple of weeks ago, I headed up to Ripon in North Yorkshire to take part in Of Dice and Men 2023, a 700 point tournament run by the team at 7th City Collectables. This is quite a popular event which has been off the GBHL Calendar in recent years, but it has come back as popular as ever. There were also two special rules in place for the event – Heroic Strike values could go up higher than ten (so, for example, if a F6 hero called Heroic Strike, they could potentially reach F12 rather than stopping at F10), and players who lose a heroic move roll-off would receive +1 on the next roll (so an evil player for example would win the roll-off on a 1-4 rather than a 1-3).
I decided to take along my newly painted Army of Thror, which I'd been working on in the weeks before the event. The list was pretty simple, built around the three main heroes and backed up with plenty of warriors:
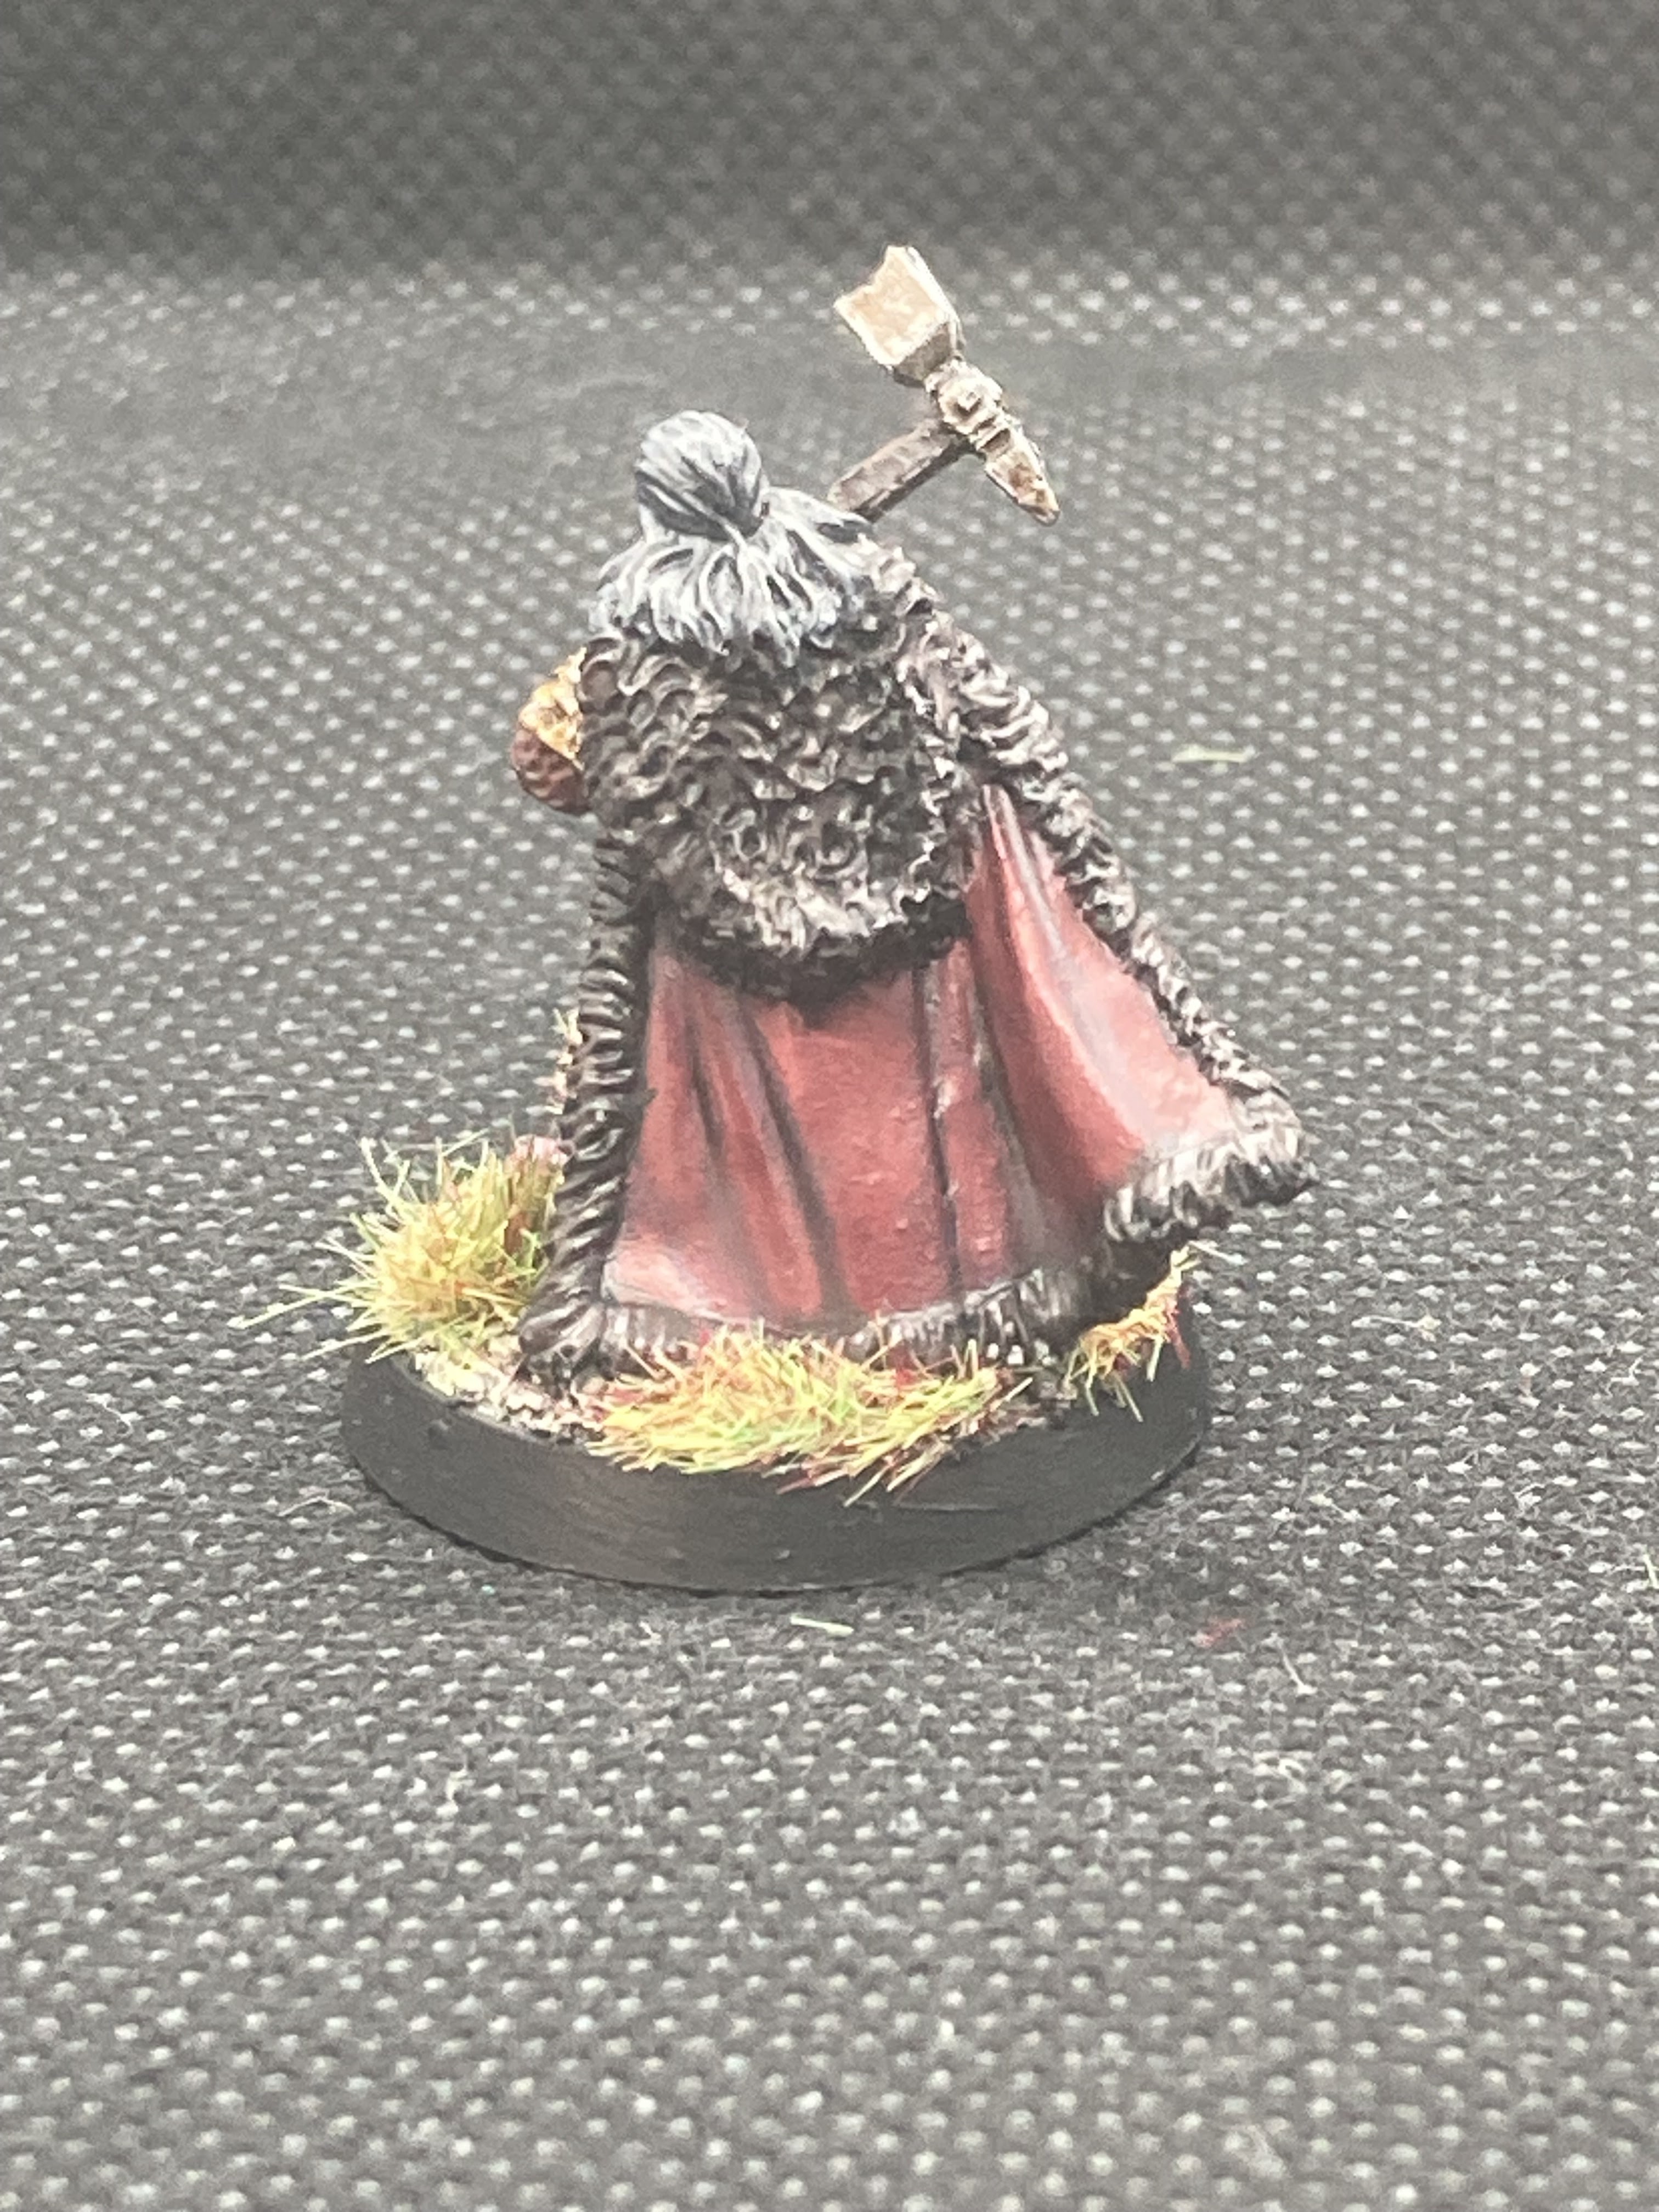
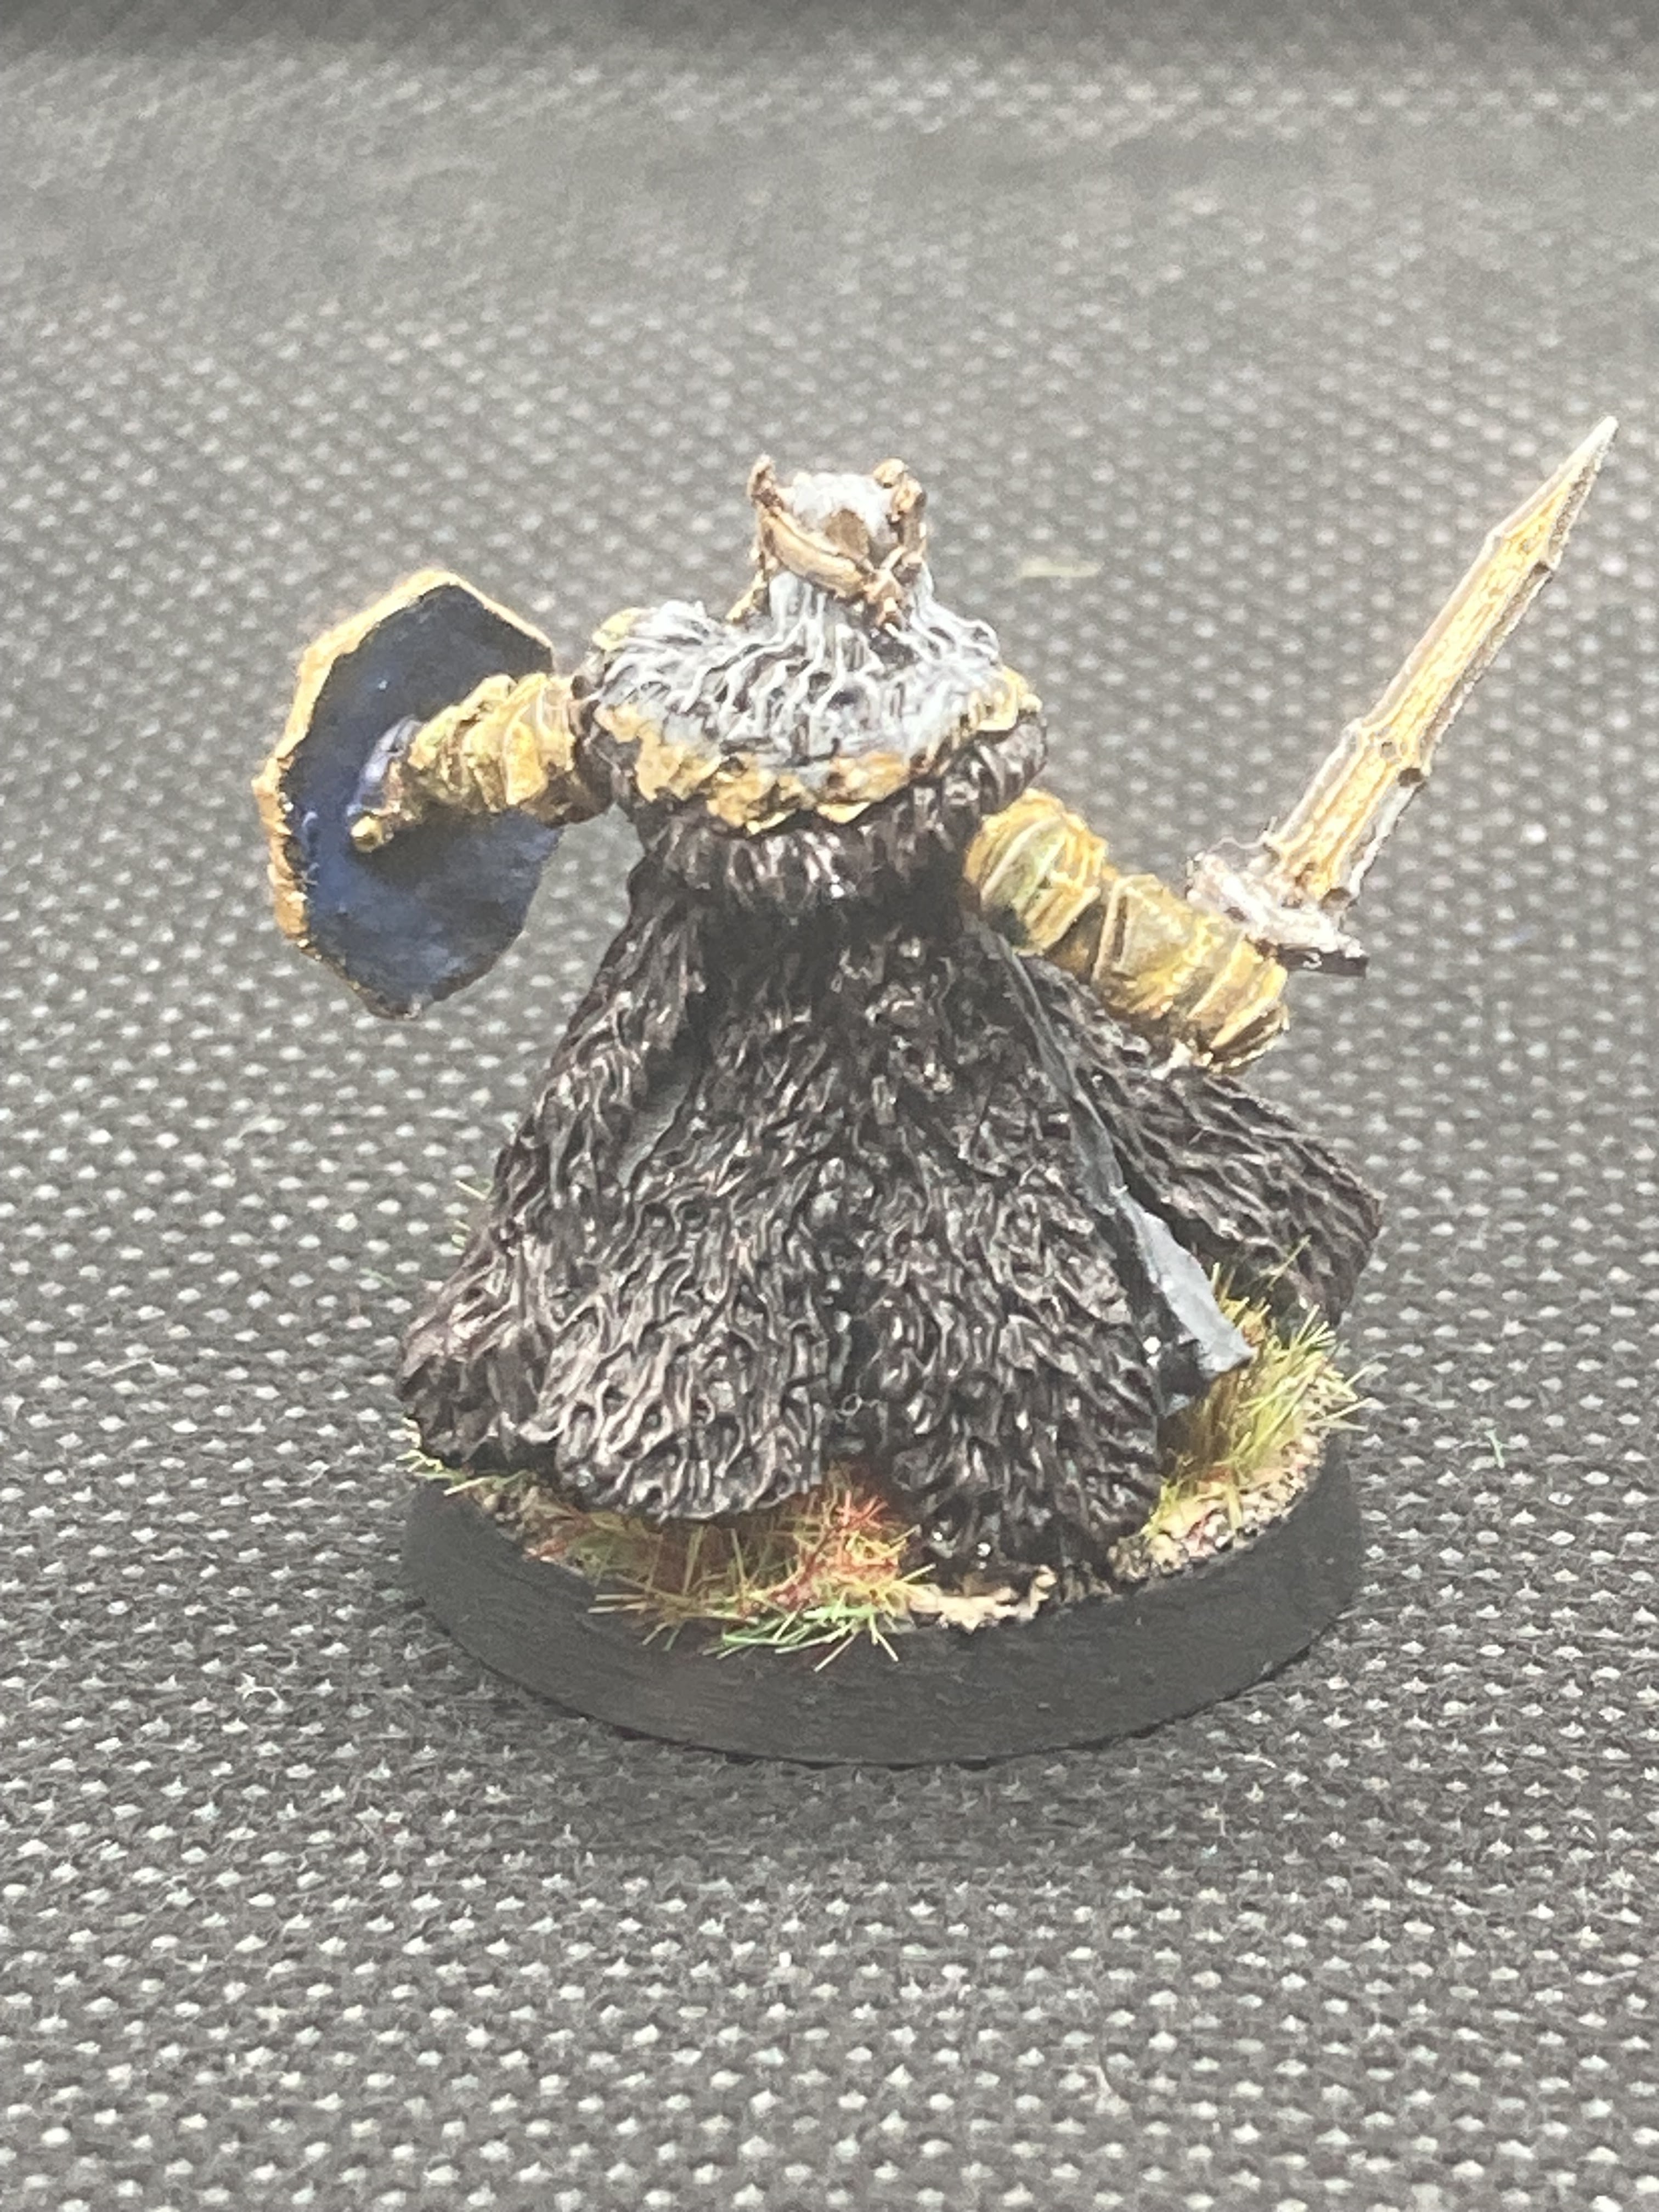
Thror
12 Grim Hammers (Guardians of the King upgrade)
Thrain
12 Warriors of Erebor (6 shields, 6 spears)
Young Thorin (The Oakenshield)
11 Warriors of Erebor (5 shields, 6 spears)
So, with a trio of three might heroes, and 30-odd warriors backing them, whilst I wasn't expecting to win the event, I was hopeful of some decent results.
Day One
Round 1 – Fog of War vs Si Dean (Assault on Lothlorien)
A nice fun scenario to open the event. Si had a pretty decent list – the usual suspects for Assault on Lothlorien, backed up with a few wargs, bats and spiders. The game was pretty straightforward – both armies advanced and met in a huge melee in the middle. I was hoping the dwarves natural toughness would come in handy, meaning I could absorb enough punishment whilst dealing out my own, eventually breaking through and pushing onto my chosen terrain piece.
Si's tactics were to try and transfix my heroes with his shamans – unfortunately for him, he either failed to cast the spell, or I was able to successfully resit it. I was able to successfully protect my heroes from his Bat Swarms, knowing my heroes would struggle with their fight values halved. The most notable event of the battle was Thorin slaying Muzghur, but this is irrelevant in Fog of War as there are no victory points awarded for killing the enemy leader.
In the end, both of us abandoned our targeted terrain pieces in favour of trying to kill our target heroes – Si was trying to kill Thrain, whilst my target was his Goblin Shaman. I came closest, taking off the Shaman's fate point, but across three combats in a row I failed to score any wounds. The game ended with both our forces broken, and both our heroes to keep alive (the shaman and Thorin respectively) unwounded. A nice, close game to start the weekend – Si was a really fun opponent to play against, and we wished each other luck for our next games.
Result: 4-4 draw.
Round 2 – Reconnoitre vs Alex Temple (Rohan & Lothlorien Alliance)
Round 2 saw me up against Alex Temple of Battle Camper fame, so expect to see a better account of this battle on his YouTube channel when his tournament review gets posted. He had a contingent of Rohan led by Theoden and Gamling, backed up by a group of Lothlorien elves led by Galadriel and a Sentinel.
Ahead of the scenario, I was less than optimistic, given that his Rohirrim could easily outmanoeuvre me and escape off the board, so I'd have to play tactically. Thror's was the only warband that arrived in the early turns. Fortunately for me, Alex had to wait a couple of turns to get both his Rohirrim warbands to arrive on the board, allowing me to get Thror's warband in a position to hopefully hold him up. In the meantime, Thrain and Thorin finally arrived and headed to aid the King Under the Mountain.
I said before the game that I was hoping it would be a case of tortoise vs hare, with the exception that the hare would run into a very spikey tortoise and die – when the lines finally met, it turned out exactly to be the case. The Rohirrim had the early advantage as they got the charge initially, granting them both their fight value bonus from Theoden and the strength bonus from the army bonus, allowing them to cut down several dwarves. However, over the next few turns the heroic moves went my way, and in one single turn a combination of throwing weapons and axes saw five Rohirrim cut down.
With the Rohirrim's charge stalled, I moved a small group of dwarves up the left-hand side of the board, sending Thrain towards the combats in the centre and Thorin to intercept Galadriel and the elves, who were swiftly approaching. I had some more luck magic-wise as Galadriel kept failing to immobilise either Thrain or Thror – this proved fatal for the Rohirrim as Thrain and several dwarves heroic combatted into Gamling, killing him, before Thrain and Thror combined the next turn to bring down Theoden, whilst the dwarves took care of the remaining Rohirrim.
Things petered out pretty quickly after that – my breakaway group of dwarves slowly advanced across and off the board, whilst the remaining elves and dwarves fought to a standstill on the right flank. Thorin tried a few times to bring down Galadriel, but she was able to call a Heroic Defence each turn, and had enough fate to avoid taking a wound.
In the end, I had three times as many models off the board, Alex's leader was dead, and he was broken whilst I was unbroken. It was a really fun game that could have had a much different outcome had some heroics gone Alex's way – preventing the Rohirrim from charging gave me the advantage in the combats, allowing me to cut them down. Alex however was very gracious about everything, and I happily gave him my most sporting opponent vote.
Result: 12-0 win!
Round 3: Domination vs Thomas Kemp (Corsairs of Umbar & Serpent Horde Alliance)
For Round 3, I was up against an intimidating amount of Corsairs of Umbar, led by Dalamyr and Delgamar, who had also brought along Suladan for the ride. There was also a rather scary amount of throwing weapons in my opponents army, plus some Corsair Reavers. I sent my dwarves forward, keeping a few back to hold the objectives placed in my board half.
Fortunately, the majority of Thomas' throwing weapons bounced off my dwarves’ heavy armour, though a few did find their mark. As with my previous games, I was hoping my dwarves' natural toughness would prevent me getting overwhelmed in combat, and this was exactly the case. Thomas' plan was to surround and trap my dwarves in combat (where his army bonus would give him +1 to wound my dwarves), allowing part of his army to then break off and claim the objectives. However, my dwarves proved very resilient in combat, being able to survive the fights they lost, but cutting down corsairs left, right and centre due to their very low defence.
This allowed me to create a bubble in the middle of my dwarves, preventing them from being trapped if they lost a fight. I also had a string of priority rolls go in my favour, allowing me to dictate combats and again prevent any dwarves getting trapped. Thrain cut down Dalamyr, and each turn more corsairs fell, eventually breaking Thomas' army and allowing me to get a couple of dwarves past him onto another objective. Suladan however staged a late comeback, cutting down several dwarves and charging onto one of the objectives. My dwarves however were able to hold him off before the game ended – I held three objectives to Thomas' one, whilst the other was contested and my dwarves were unbroken. Another very close game that could've ended differently had a roll-off or a priority gone Thomas' way.
Result: 7-2 win!
Round 4: Retrieval vs Greg Wiggett (Iron Hills & Erebor Reclaimed Alliance)
Round 4 would be a tricky challenge – Iron Hills dwarves are no pushovers, especially thanks to their shieldwall bonuses, which make them even harder to kill. Greg had a fairly simple force – Dain on his boar, Thorin on a goat, Bifur Champion of Erebor, and a number of Iron Hills dwarves.
My gameplan was fairly simple – I sent Thrain to deal with Thorin's warband, Thror to try and retrieve Greg’s objective, leaving Thorin behind to guard my objective. Unfortunately however, things went disastrously wrong when the lines met. Whilst I could win fights, I struggled to kill anything in combat thanks to the Iron Hills' high defence. Greg, however, had no trouble slicing his way through my dwarves – Dain in particular was very efficient, on one occasion managing to cut down five dwarves in a single turn. Eventually, Thror found himself wounded and surrounded, and Thorin had to abandon defending my objective in favour of offering some much needed reinforcements.
The relentless ease at which Greg's Iron Hills were slicing through my dwarves meant I was broken very quickly. Fortunately for me, I was spared being completely wiped out by the game ending on the first roll of the dice. Neither of us were anywhere near moving the objectives, whilst Thror being wounded and me being broken handed Greg a comfortable win. This game was an example of how things can easily go against you – there were multiple turns where I couldn’t win a roll-off or a combat. Whilst I didn’t do anything really wrong in terms of strategy and tactics, the dice were much more in favour Greg than anything else. The game however was not unpleasant, as both of us were in awe at the sheer amount of 6s Greg was rolling…
Result: 0-4 loss.
So, at the end of Day One, I was sitting on two wins, a draw and a loss – a fairly respectable showing given I was using Army of Thror for the first time at an event. We finished Day One with a quiz, where I and my team took home 1st place!
Day Two
Round 5: To the Death! vs Julian Hammond (Army of Dunland Legendary Legion)
To start Day Two, I would be facing a beautifully painted (so beautifully that it won the best painted army prize) Dunland army, containing all of the army's heroes (Thrydan, Gorulf, Freda and the Oathmaker), a number of hurscarls, horsemen and regular warriors and wildmen. Julian had the numbers, but arguably I had the better warriors – only time would tell.
What followed was an excellent example of defensive play. Julian quite rightly sat at the back of the board, trying to snipe out dwarves with his archers as I slowly advanced. Again, I lost a few dwarves, but the majority of his archery failed to score wounds. When the lines met, he was able to manoeuvre his forces behind his frontline to bring his heroes and advanced troops into play where needed. Whilst Thrain and Thror made slow but steady work of cutting through the Dunlendings grouped in the centre, Thorin and his warband struggled to fight their way through the wildmen holding the left flank – whilst the majority of the combats went my way, despite only needing 4+s to wound, I struggled to make headway.
Julian did have some luck on his side – Thrain managed to remove all Thrydan's fate, whilst Gorulf ended the game with just one wound and no fate left – the free Heroic Defence he gets every turn meant I couldn’t quite finish him off. With Thorin bogged down and Thrain and Thror forced to spend their might early on, my dwarves started to get isolated and picked off as Julian was able to take advantage of his extra might to dictate the movement, allowing him to surround Thror with all his heroes and bring down the Dwarf Lord. His Dunlending War Cry also proved very effective, gaining +1 to wound for a single turn, enough to kill a number of dwarves and push me closer to being broken.
I eventually found my killing abilities and started cutting down Dunlendings, but it wasn’t enough. As time ran out, we were both broken, but my leader was dead and Julian still had his banner bearer alive, handing him the victory. It was a really fun game from a tactical standpoint, as we both had to think about how we could move our forces around in order to maximise effectiveness.
Result: 3-8 loss.
Round 6: Hold Ground vs Matthew Tullock (Return of the King Legendary Legion)
Another game, another Legendary Legion, another beautifully painted army. Matthew has a few models in his army that could cause me problems. Or rather, every model in his army could. The King of the Dead could potentially kill my heroes in a single fight phase, whilst Aragorn could easily mow through my troops with Anduril. He also had Legolas, some Riders of the Dead, and the rest of the force was Warriors of the Dead. My high defence would be of no use to me in this situation, as they would be rolling to wound against my courage value, reduced by 1 thanks to the King of the Dead having Harbinger of Evil.
Hold Ground uses the maelstrom rules for deployment, but neither of us were affected too badly by this, although I did have to spend one of Thrain's might points to ensure he didn’t get separated from my main force. Both sides advanced into the centre, Legolas trying to snipe out some dwarves with his archery, but again my dwarves' armour proved resilient. When the lines finally met, I struggled to get most of my charges off thanks to the terror causing abilities of the Army of the Dead. In the fights however, I had the advantage. My dwarves had the higher fight value in the fights, and the Dead wounding against my courage meant I could call Piercing Strikes without having to worry about my defence value being reduced, as it wouldn’t be a factor.
Whilst my dwarves managed to cut down a few of the Dead, the star of the show was Thrain. His master-forged hammer meant I could fight two-handed with no penalties, and the +1 to wound bonus from a two-handed weapon meant he was wounding on 5's, rather than the 6s and 6/4+ needed from my Warriors. Thrain won nearly every single combat, killing his opponent very time. Aragorn, however, was still a threat, and he cut down a number of my dwarves, also successfully wounding Thror. He came unstuck however, when he was surrounded by Thrain and several dwarves – despite calling a Heroic Strike, Matthew couldn’t roll higher than a 3, and with Aragorn out of might, he was subsequently struck down by Thrain and the dwarves.
Elsewhere, Thorin and Legolas kept fighting each other to a standstill, and with Aragorn gone, I could focus on removing the King of the Dead, which would turn things even more in my favour. This strategy however quickly backfired – despite charging him with both Thror and Thrain, the King of the Dead won the fight and promptly slew Thror. My dwarves, however, killed several more Warriors and so Matthew was broken – the game promptly ended the next turn. Both leaders lay dead, but I remained unbroken. A quick count of models in the centre came out 20-7 in my favour – I was only one model away from getting the full set of VPs! It was still a very close game, despite the scoreline – had Matthew had a bit more luck, things might have gone differently.
Result: 10-2 win!
Round 7: Command the Battlefield vs Sam Gratton (Survivors of Laketown & Erebor Reclaimed Alliance)
The final round of the weekend saw a random scenario chosen out of the 12 that had not been played – it seemed rather fitting that the final scenario was the opposite of the previous one. Sam had an interesting list, containing Bard and his children, Alfrid, Dori and Gloin Champions of Erebor and a host of Laketown Militia and Iron Hills dwarves.
As with Round Three, I advanced most of my dwarves forward, sending a few elsewhere to hold the various table quarters. My dwarves armour continued to resist my opponent's shooting, but it was in combat that Sam had the advantage. The free heroic combat Bard gets every turn for being within 6" of his children allowed him to slowly pick off my dwarves, whilst the sheer amount of might points he was able to generate thanks to Alfrid meant he could easily dictate the movement through heroic moves. Luck was also not on my side with roll-offs, as nearly all of them ended up going Sam's way.
Combat also didn’t go in my favour either – both Thrain and Thror had to spend extra might points in order to have successful heroic combats, leaving them powerless to counter Sam's heroics. Eventually, Thror was surrounded by most of Sam's heroes and was cut down. Thrain continued to be defiant and cut down a number of Iron Hills dwarves and Laketown Militia, but it wasn't enough.
Thorin meanwhile also had an unproductive game, his warband running into a group of militia and dwarves, where they subsequently stayed for the rest of the game as both sides struggled to kill anything.
Thanks to Sam's efficiency in combat, I soon found myself broken. Normally, this would not be an issue thanks to Thrain having a Stand Fast! which covers the entire board. However, thanks to Sam's near unending might reserves, he was simply able to call a heroic move and charge Thrain, preventing him from using it. This meant my dwarves holding the table quarters either fled or were cut down. The game ended with Sam in complete control of the board – I had been given a sound thumping. This doesn't mean the game wasn't enjoyable, simply that the result was disappointing for the last game of the weekend.
Result: 0-12 loss.
So, I finished the weekend on three wins, three losses and a draw, and out of 48 players I came home in a very respectable 23rd place. I also learned a lot about how the Army of Thror plays on the tabletop – it relies on Thror and his 6" banner to be fully effective in combat, but it has some very solid heroes as backup in Thrain and Thorin. It's main trait is it's survivability – the dwarves were able to take a lot of punishment in combat without suffering too many losses. The one thing I will add is that Thror can be vulnerable at times – the Arkenstone may allow him to re-use fate points if you roll a 4+, but don’t rely on this to keep him on the field – one failed roll and it will very quickly be the end of him.
A huge thank you to my opponents across the weekend, my victorious teammates in the quiz, and of course thanks to the 7th City folks who organised the whole event – I look forward to the next one!