Thursday 24 September 2020

WiR Scenario 2- The First Battle of the Fords of Isen


As the Westfold is burned, Theodred rushes to attack the forces of Isengard unawares. What he doesn't know is that it is a trap. As he crosses the Isen, he and his men are ambushed. Grimbold is rushing to his aid with Elfhelm also on route with his Eored, but the prince of Rohan is isolated.


Due to evil's victory in 'Burning of the Westfold' reinforcement rolls for Elfhelm get -1. 


Played with: CM


The First Battle of the Fords of Isen

Good uses a Heroic Move. With a great warcry, Theodred charges across the ford straight into the enemy lines, leading his men with him. He slams into Thrydan! A throwing spear takes out a Dunlending warrior.

The evil forces wrap around attacking the flanks. Vrasku calls a heroic combat.


And uses it to punch a hole in goods right flank.

Thrydan fails to strike up high enough and Theodred unleashes the fury of the Rohirrim, bringing him out of the fight in the first turn.

Both sides call Heroic moves as they try to punch through/plug up the defences.


Theodred is on a roll as he slams into Vrasku and slays him along with both of his uruks! Grimbold reaches the ford and Theodred’s waivering unit is reinforced.


The extra troops gives Rohan a second wind as they’re able to push out and hold back the evil forces.


Theodred leads his troops in the frenzied fighting slaying an uruk and Dunlending…


…followed by an orc, warg and 2 more uruks! But as he fights like a demon, his troops are being slain around him by the swords of the uruk-hai and the axes of Dunland. Grimbold is following Theodred’s example and killing steadily but as numbers start to wane, calls his men to fall back to the ford. The battle is halfway through, on turn 6/12.


The uruk archers decide their time has come and that they will bring down the Prince of Rohan (blue). They draw their bow and fire, 4 miss and the last ends up hitting and wounding Grimbold (red) instead.


The archers on the opposite flank, who are just before Theodred, try their luck too. Two shots hit Theodred’s horse and it is killed. The Prince is dropped to the floor but is quickly up with his sword and shield.

Grimbold and the surviving warriors and Helmingas form a line on the islet. Theodred attacks a nearby scout. They hear a horn blown to the East…


…Elfhelm arrives, with an Eored of riders!


With their morale saved at its last, the Rohirrim fight on to hold the line! Grimbold slays two more scouts!


The riders close in as the situation gets desperate on the ford as evil begins to overrun them!


Theodred is surrounded again but manages to slay another two enemies.

With a loud blow of the horn, the riders slam into the evil frontline! The uruks and Dunlendings are crushed under the charge and one is speared by Elfhelm’s throw! The tide is turning in its darkest hour!


A very lucky scout (with no shield) survives a grand total of 24 strikes from riders before he finally falls!


Just as the day seems saved, Theodred has tired as he rolls triple 1 in combat. The warg rider and two Dunlendings have him trapped and none of his allies can do anything but watch in horror as the two Dunland archers repeatedly stab him with their daggers! The Prince of Rohan falls beside the ford, dead!


The last minute turn isn’t enough to score victory for evil though, the damage is done and the Rohirrim crush the last of them in a fit of fury!


Despite this, the last standing uruk archer manages to lash out and knock Grimbold down and out of the fight. But he is quickly dispatched by his allies!


DRAW


Kills

Theodred- 12

Elfhelm- 4

Grimbold- 5


Vrasku- 2

Thrydan- 0


Both Vrasku and Theodred are slain in battle and out of the campaign.


As it’s a draw, neither side receives any bonuses in any following scenario!


I'll try to put out the next scenario in the next week, 'The Second Battle of the Fords of Isen'.

Sunday 20 September 2020

WiR Scenario 1- The Burning of the Westfold

 Hey, I was offered by Kieran to post write ups for the campaigns that I am doing for the books. I have quite a large amount already done so it shouldn't take too much to post them on here. At the time of writing, I have one scenario left for Rohan, 3 more for Gondor at War and about half of Scouring of the Shire. 

Quite a few of these are also played on Tabletop Simulator, due to recent difficulties in meeting with players over the last 6 months and also, occasionally, not having the required models to do so.

I won't set a regular release for them as I can't guarantee when I'll be free to do so. But anyway, enjoy as we begin with..

The Burning of the Westfold

Played with: CM

As the Sun rises over the Westfold, a village comes under attack by the wildmen of Dunland led by the Oathmaker. On the hills in the distance, the villagers see a contingent of the Dunnish army approaching. The master of the village, Jeorn and his son Gaerwine prepare to defend with any man willing to fight the invaders.

The villagers prepare to defend (closest board edge is South). On the Southern edge Gaerwine stands in the middle of the road and to the North, Jeorn lines up his warriors.

The Wildmen sweep in and immediately set the SW house ablaze!

To the North, most of the Dunlendings arrive led by Gorulf. Jeorn (white cloak) attacks two warriors and fails to slay either.

Two warriors beside the SE house throw spears, killing a huscarl and warrior beside Frida.

The Oathmaker and Gaerwine call heroic combats and both kill their opponents, the Oathmaker uses it to run around the house. Gaerwine does the same round the opposite side to give chase.

Gorulf calls a heroic move the next turn and pounces upon Jeorn! The master escapes the attack.


Gaerwine catches the Oathmaker and his wildmen on the corner of the SW building. He manages to wound the Oathmaker.

Frida leads her unit towards the SE house.

Jeorn is set upon again by Gorulf and a warrior. This time Gorulf mights up his duel roll and with an almighty swing of his axe, fells the master! The NE house is set ablaze!

His son Gaerwine however, fights like a demon, managing to win another fight while surrounded and take the Oathmaker’s fate.

Frida and her unit descend upon the group of Rohirrim protecting the SE house. The warrior woman leads her unit in a vicious assault.

Gaerwine, starting to tire, shields the blows of the wildmen before slamming it back into the Oathmaker, taking the final wound and knocking him unconscious. Leaving him sprawled across the rocks beside him.

A Wildman sets the SE house alight, but a Rohan warrior quickly extinguishes it. The last of the Northern Rohan fighters are slain!

Gaerwine sees the hordes of Dunlendings streaming from the North and knowing that the battle is surely lost and seeing the Northern house erupt in flames, decides that he needs to get a message to the King! He starts to make a run, fighting the Wildman behind him!

The SE house fight continues, an axeman unexpectedly wounds Frida! But the Rohirrim’s numbers are thinning…

The Northern Dunlendings run rampant and unchecked!

Frida’s unit succeeds as the house is engulfed in flames and the attempts of a warrior to put it out fail miserably! Four houses now burn!

As Gaerwine, continues his desperate attempt to break free of the wildmen stopping his escape, the Western house is set on fire and the villages centre statue is brought down! Frida advances towards the young captain.

Gaerwine is almost within touching distance of his escape, he slays a Dunnish archer as the Eastern house is set alight after multiple failures from the Dunlendings. The whole Westfold village burns!

In the penultimate turn, Gaerwine slays another Wildman as the others pen him in to prevent him getting the message out quickly. Frida is now very close by.

The last turn comes in and giving up on the message, Gaerwine attacks the Dunlending woman! After a quick combat, he deflects her blows and leaves a deep wound on her. She survives through fate. He flees his burning home, getting a horse from the stables and escapes!


EVIL VICTORY

 Campaign effects

In 'the First Battle of the Fords of Isen', the good player gets -1 on rolls to see when Elfhelm arrives.


Jeorn is slain. 


Kills

Jeorn- 0

Gaerwine- 6


Gorulf- 2

Frida- 1

Oathmaker- 1


I'll try to make time soon to sort out the next: The First Battle of the Fords of Isen.

Thursday 17 September 2020

Top 3... Mordor Heroes

Hi readers, I'm back with a new blog post after a short break (as a teacher, I've had a busy few weeks!). Today I give you the start of a 'Top 3...' series, with the first week focussing on Mordor heroes. Mordor is a faction blessed with a huge number of strong heroes, from your combat powerhouses to your budget support heroes. Rankings are made based on a value for points approach so any hero has the chance to reign supreme, apart from Gothmog's Enforcer (he's just rubbish)! 


Before the winners take their place on the podium, it's worth a few honourable mentions to those Orcish boys and girls who fell by the wayside in their quest for glory. Gorbag was very much in contention until falling at the final hurdle. A great value hero who is able to easily improve his FV and Attacks, Gorbag will rarely let you down. This time however he goes home with nothing but a participation certificate. The other noteworthy contender for the title of most fabulous leader of Sauron's hordes is the aesthetically challenged Gothmog. With his troop-improving rules, the fantastic Master of Battle rule and a solid stat-line, everyone's favourite trebuchet-avoiding orc is a little unfortunate to find himself as a bridesmaid in this contest. 

Anyway, enough with the medal-less Mordor leaders, let's get to the stars of the show:

Third Place - Kardush the Firecaller

Oh boy, what a start! Kardush is a real gem of a Mordor hero. Kardush is a named orc shaman and comes with a few extra tricks when compared to his nameless brethren. A rare shaman who is a Hero of Fortitude, Kardush provides the very handy Fury but adds in his mastery of hurling balls of flame at anyone who displeases him. Kardush the Flamecaller replaces the standard 5+ Transfix spell with the stupidly good Flameburst on a ridiculous 3+. This causes a S6 hit on the targeted model within 6" of Kardush. There is nothing more fun than barraging your opponent with fireball after fireball from behind your safe and secure shield wall. As mentioned in my Build Me an Army Worthy of... Mordor post, a favourite tactic of mine is to get a Ringwraith to compel a banner bearer so they are no longer in base contact with a friendly model and then get Kardush to light him up. If you succeed, Kardush has already paid for half his cost and your opponent has lost his important banner. In order to keep Kardush stocked up on resources for all of his fire-slinging, through his Heart of Darkness rule, Kardush can remove a friendly orc within 6" of him before priority to regain D3 Will points. Eat a few orcs over the course of the game and you've got all the fuel you need to keep the bonfire blazing. Kardush is criminally cheap, incredibly frustrating to play and a very worthy hero in anyone's Mordor army. Put him in your armies and start blaring The Prodigy, this orc is a firestarter!

Second Place - Shagrat

Edging out Kardush from second place, we have absolute unit that is Shagrat. Quite possibly the best value combat hero in the game, Shagrat will make mincemeat of enemy warriors and heroes alike. For the points you pay, you get 3s in all the right places (3 attacks, wounds, Might, Will and Fate). Shaggers is an offensive monster but has surprising durability for an Evil hero, all for an incredibly attractive points cost. With his shield of Cirith Ungol granting him the knockdown bonus when he charges as if he were cavalry and Blood and Glory to help Shagrat keep his Might train steaming ahead,  Shaggy-boy can hunt down your opponents low-mid tier heroes, Strike up to win the fight and then use his 6 S5 strikes to kill them and regain the Might he just spent. Very nice! You will not find a better front-line leader for your Mordor forces and Shagrat easily deserves his 2nd place spot among Mordor heroes.


1st Place - The Witch King of Angmar

Sitting comfortably in first place, we have big daddy Witch King. The Witch King provides immense versatility to any list and can be kitted out to fill a huge number of roles, He can be your support caster, your hero assassin, your troop muncher or your flying monster platform. The reason Angmar's original bad boy is so good is his flexible stat-line which allows you to kit him out to sort your needs and to fit the points you need. The Witch King can support your army from a distance, safely chucking out a few key transfixes and black darts with great reliability thanks to his pointy crown (an almost must-take for the magic re-roll and Attack boost). Alternatively, he can be mounted on his trusty flappy-boy fell beast to get up to 8 FV5, S6 strikes on the charge and access to a 12" Fly move and Brutal Power Attacks. The Witch King is a true Swiss army knife and is the best hero to lead your Mordor armies, as should be the case for Sauron's most trusted general!


Has your favourite Mordor hero missed the cut? Let me know who you think deserves a spot in Mordor's Top 3...

Thanks for reading,

Kieran

Wednesday 2 September 2020

Build Me an Army Worthy of... Rohan

Welcome to the next in our Build Me an Army Worthy of... blog posts. Once again, I will be sharing 2 lists which I would bring to an EAHC tournament so the lists are competitive but not super filthy! This week, we move on to my army of the moment: Rohan. At the start of 2020 I decided to change up the army I played for the EAHC league events and Rohan was my chosen Good army, replacing my favoured Last Alliance themed forces. The much-loved pony lords have since taken me to 3 1st place tournament finishes, with their furious charge only blunted by the arrival of a global pandemic! 

Before I move on to the list, I think it is important to mention that both lists use the Riders of Theoden LL. There are a number of Rohan LLs now available but, in my opinion, the Riders of Theoden is clearly the best and is a top tier SBG army. Other army styles and builds are certainly viable but the Riders of Theoden allows you to recreate an iconic movie scene whilst improving on the strengths of a Rohan list. In short, all of the things you would include in a standard competitive Rohan list are available to the LL with the added bonus of the Death! special rule, so running the legion is a no-brainer!


The Rohan Bulldozer - 500pts

Theoden with heavy armour, shield and armoured horse
3 RRG with horse and throwing spears

Rohan Captain with heavy armour, shield and horse
2 RRG with horse and throwing spears

Deorwine with horse
3 RRG with horse and throwing spears

Dernhelm with horse
2 RRG with horse and throwing spears

15 models

This force is rather small for 500pts but with all models mounted, a strong core of D6, FV5 on the charge troops and 3 heroes with Strike, boy does it hit like a freight train! For those who prefer a few more bodies, you can get 3 more models in exchange for your Captain but I feel he is too valuable and 3 extra bodies end up being rather insignificant. The first few times I played lists like this one the model count did make me apprehensive but, after a few games, it was clear it wasn't a concern!

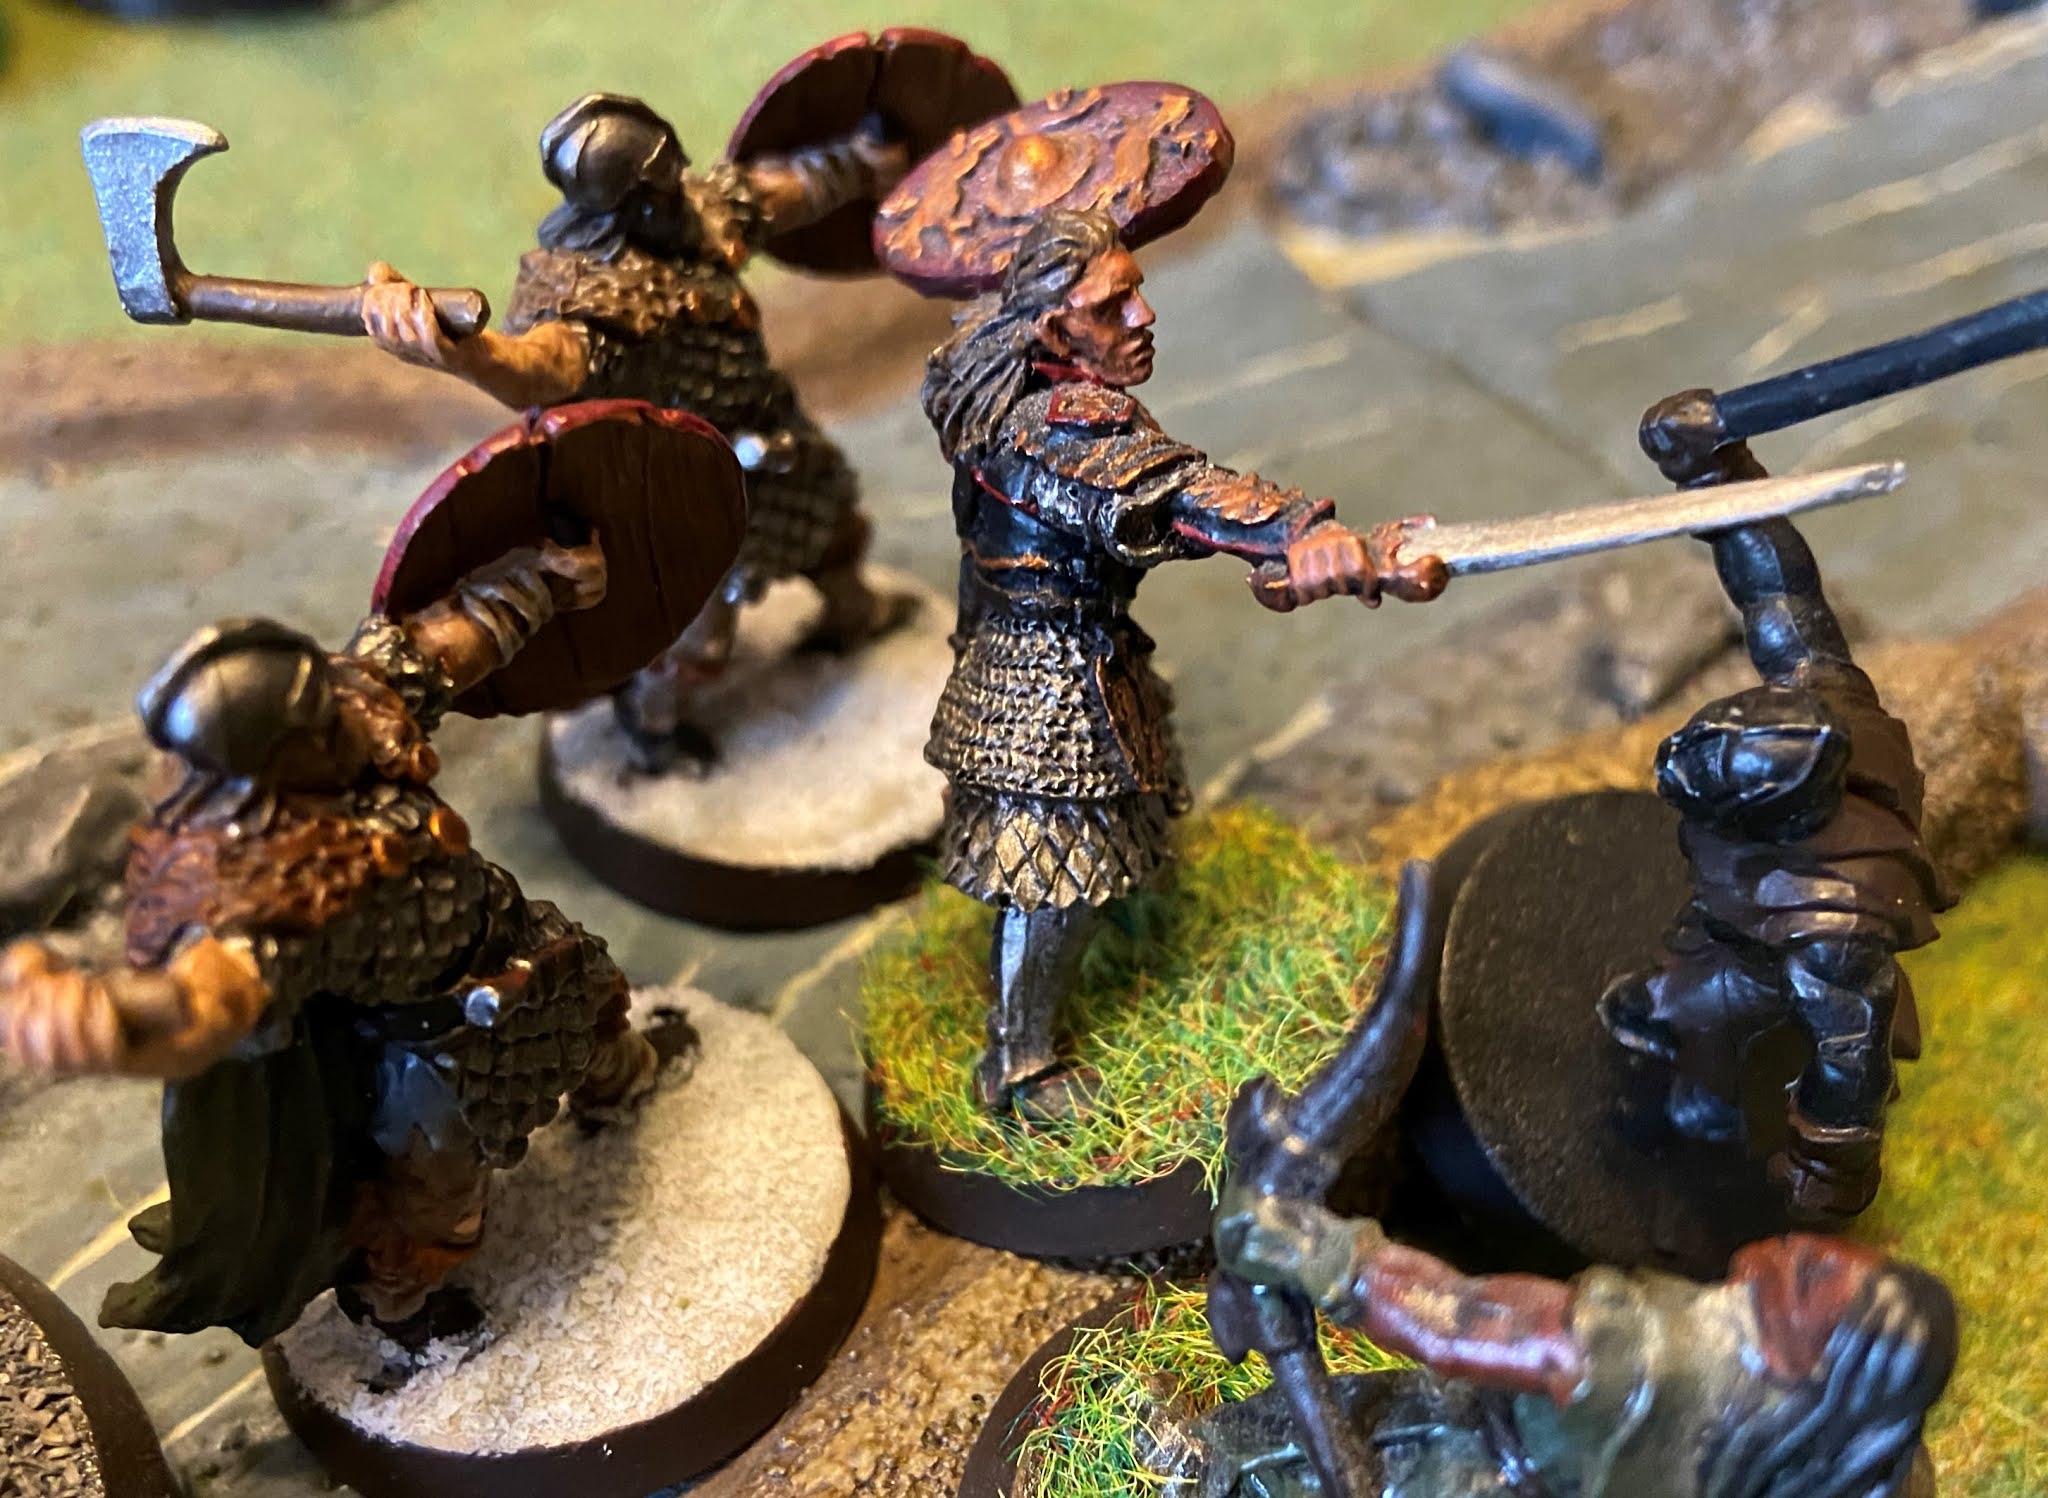
Leading the force we have Theoden King. The lynchpin of almost all Rohan forces, the King of the Horse Lords offers a lot for his points but should be used more as a force multiplier and support hero than a big hitter. With 2W and 1F, the King is a little frail, although D7 is nice, and he offers far too much to risk losing him in a tricky combat. Theoden is hugely important to the list due to the fact that all the RRG and the Captain become F5 on the charge within 12" of him which is amazing. Not only that, but you need Theoden on the battlefield to call the insanely good Death! rule! At the start of any Fight phase, once per battle, Theoden can shout Death! which allows every Rohan hero within 12" call Heroic Combat or Strike (if on their profile) for free. With this list, this rule is used to great effect as you can call 4 Heroic Combats and can easily average 3 kills per hero. 12 dead enemies, not including any your throwing spears or RRG may get, is enough to almost break a lot of 500pts armies in 1 turn! In short, keep Theoden alive and profit.

The troops accompanying the King are repeated in every other warband, Rohan Royal Guard. I love RRG! They are incredibly good for their points and are a clear improvement on the already decent Rider of Rohan. These shinier, more armoured pony boys can easily get to FV5, 2 Attacks, S4 on the charge which is enough to win most fights and, by giving them throwing spears, they will be picking up an odd kill on the charge too. Couple that with D6, helping the RRG stick around against S3 attacks, they kill things easily and are hard to be killed themselves. All in all, they are already a impressive package but they get even better with their Bodyguard special rule. Being fearless whilst Theoden is still alive, who of course should be given how important I have told you he is, is invaluable against Terror causing armies or auto-passing Courage tests late game to keep hold of objectives. RRG are superb and you won't regret adding them to your Rohan forces, although your wallet will take a bit of a beating!

So what about the other heroes? The Captain first. He is cheap in terms of points, has Heroic March (I know Theoden does too but the Captain saves Theoden's Might for when it's important) which allows you to close with any static enemy gun lines you might come up against and, with 3A at FV5 (within 12" of Theoden), S5 on the charge, he's pretty good at chewing through troops. Altogether a strong, if unspectacular, choice but he is another hero who benefits from Death! and that is why I favour him over more bodies. 

Next up, my boy Deorwine. What a gangster! F5, S5 with 3A on the charge, D7 for good staying power and Bodyguard to auto-pass Courage checks whilst Theoden lives (again, seriously, make sure Theoden stays alive!), he has a great stat line. With Heroic Strike and 3 Might to round of his profile, he is a steal for his points already. However, Deorwine has a special rule which makes him a top tier Rohan hero. For Theoden! allows Deorwine call a free Heroic Combat if Theoden is in combat within 12" of Deorwine. He must use that to join Theoden's combat, or as close as possible to Theoden if this isn't possible. With 11 Might in the list, 4 free Might from Death! and now Deorwine burning through more free Might, most opponents won't be able to cope.

The final hero in the list isn't just 1 hero, it is 2! Dernhelm, the combined Eowyn and Merry profile introduced in Gondor at War, is amazing. Costing less points than Eowyn and Merry would separately, Dernhelm is an incredibly well-costed FV5, 3 Attack (4 on the charge) hero with 3 Might points (2 on Eowyn, 1 on Merry) and access to Strike. She can reliably hunt down enemy heroes and is hard to kill as your opponent has to choose who to focus on in combat, with both heroes sporting 2 Fate. All in all, she is a fantastic addition and regularly recoups her points during the course of a battle.

At 500pts, with so much Might on the table, your opponent will struggle to cope with the threats in this list. Tactically, wait until your lose priority (whilst staying out of your opponent's charge range) and then charge with everyone, focusing on mid-level heroes (without Strike) and troops. Call Death! Combat through half their army, spending Might where needed, and push home the advantage in the following turns. 


An even Mightier Rohan Bulldozer - 800pts

Theoden with heavy armour, shield and armoured horse
3 RRG with horse and throwing spears

Rohan Captain with heavy armour, shield and horse
2 RRG with horse and throwing spears

Deorwine with horse
2 RRG with horse and throwing spears

Eomer with heavy armour, shield and armoured horse
3 RRG with horse and throwing spears

Dernhelm with horse
2 RRG with horse and throwing spears

Gamling with Royal Standard of Rohan and horse
2 RRG with horse and throwing spears

21 models

This list takes the strengths of the previous list and doubles down on them. Now the model count here is very low but you have so many threats on the table that it can overwhelm most opponents. With a strong core of my favourite RRG with throwing spears, you can block your heroes from ranged threats until combat is reached. When combat is joined, then your heroes just tear a bloody hole through the the enemies lines. The list has a crazy 17 Might, not accounting for free Might from Deorwine's combats, the Death! rule and an addition to the list in Gamling and his banner! You can easily spend 30+ Might with this list over the course of a game! So what do the new heroes bring to the Theoden and his crew?

We can start with Gamling. Gamling's stat line leaves a lot to be desired, at FV4, D6 and only 2W with 1F, he won't kill much and will die pretty easy (although Heroic Defence can help with this). So why bring him? It's all about the Rohan Royal Standard. Firstly, it gives the army a banner which is always useful. However, it is the extra benefit it gives which makes Gamling fantastic: at the start of a turn, 1 Rohan hero who is out of Might within 3" of Gamling gets 1 Might point back. More free Might! Now this effect is superb! It allows you to burn through the already insane amount of Might without worrying about running low. Late game this is crucial as, after your opponent has run out of Might, you can guarantee Heroic Moves for your charging Horse Lords. Amazingly, as I'm sure many of you are aware, Gamling's Royal Standard has been recently nerfed and used to provide a Might point to every Rohan Hero out of Might within 3" of the banner. Now that was stupidly insane! However, despite Rohan's answer to Oprah (You have a Might point, and you have a Might point!) being significantly less generous, he is still a valuable addition to the army.

The only other addition, besides more RRG, in the jump from 500 to 800pts is the real beatstick of the Rohirrim, Eomer. The beneficiary of a snazzy new sculpt, Eomer represents the pinnacle of the Horse Lords' fighters. 3s in all the right places, the chance to go crazy and get +1 to wound if Eowyn or Theoden die (with S5 on the charge, +1 to wound is incredible) and D7, Eomer is an offensive powerhouse, a defensive rock and a constant thorn for your opponent. Send him after your opponent's biggest threat and watch him prove himself an impressive future King of Rohan!

Just like the 500pts list, this army is built around Theoden's synergies, abusing Might advantage and that first, perfect charge. With 6 heroes reliably killing around 3 models each, your throwing spears and FV5 RRG, you can easily cut through 20+ models in the first turn of combat. Not many armies can stand up against that!


Both the lists above are hard-hitting, elite forces which can be very effective on the tabletop. The Riders of Theoden are my favourite flavour of Rohan. Let me know what Rohan builds you prefer.

Thanks for reading, 

Kieran

Tournament Report- The Eastern Expansion (20th April)

 Hey all, it's been a little quiet on the blog front for a while as James and I have been working on our Seven Stones army (more to come...